


")


")


 kit Stainless")

")


 Long")
Piston ring installation - information
Piston ring installation is divided in the following parts:
- Piston ring gap adjustment
- Grind piston rings
- Piston ring installation
- Axial and radial piston ring clearance
- Oil ring expander
- Scraper ring
- Second piston ring (compression ring)
- First piston ring (compression ring)
- Crank case ventilation
1 ▼
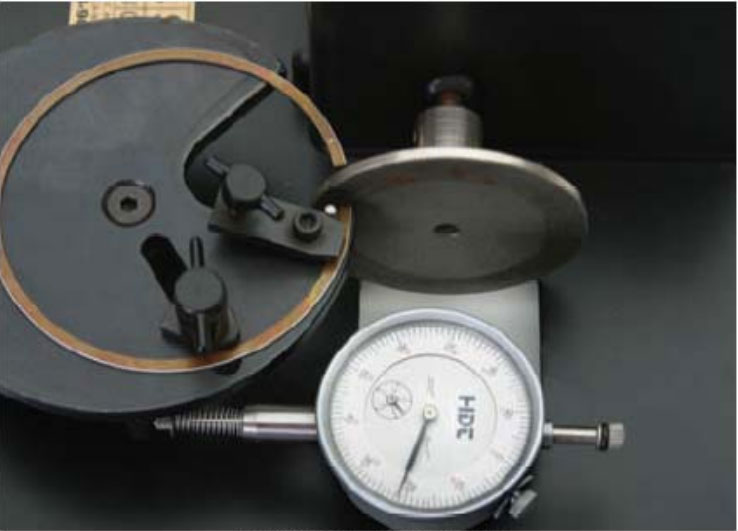
Piston ring gap adjustment
Failure to ensure the correct ring gap can cause the ring tips to move and
engine damage can occur.
- A torque plate must be attached to the engine block or cylinder (if applicable) and tightened with the same
torque as the bolts that should be used, according to the specifications, shall be torqued. - Check the ring gap by placing the ring in the cylinder. The cylinder bore must not be narrowed. Instead, use the piston to straighten the ring in the cylinder bore and check the end gap with a blade gauge.
- See the table below for the correct ring gap for your engine.
- The oil scraper rings do not need to be modified/sanded, but the gap should be at least .010 ”.
Calculate ring gap
1. This chart is in inches. If you measure in millimeters, you must do so by converting to inches. Then divide the measure by 25.4.
2. Multiply the bore in inches by the "Bore x" column to obtain the ring gap for your engine.
Example: For the upper ring of an ATV with a 4.0" bore, multiply 4.0 X 0.004 = 0.016"

1. The chart above is a general guideline. Each piston ring must be mounted in the specific cylinder where they are to be installed and adjusted accordingly.
2. The gap on the second ring should always be larger than the upper ring gap. This
helps reduce top ring flutter.
2 ▼
Grind piston rings
1. The recommendation is to use a designated tool to file the piston rings. An electric ring sander or manual ring sander
2. Always file from outside the ring to avoid damage to the ring coating.
File only one end. Use the other end as a reference.
4. Be sure to keep the ring end square.
5. Sand only a little at a time until the desired ring gap is reached.
6. Remove all sharp edges and burrs. This is important to remove as burrs and sharp edges can cause engine failure.
3 ▼
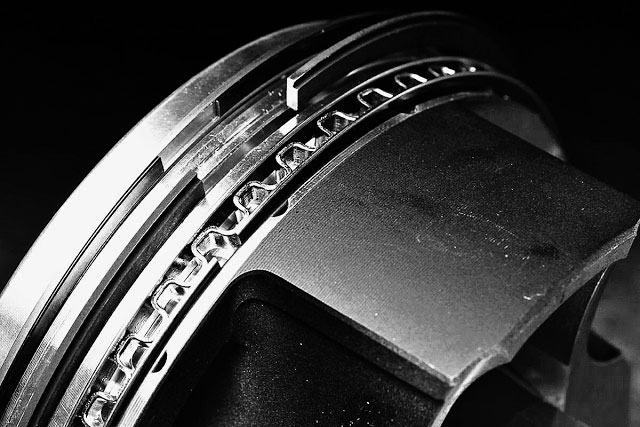
Piston ring installation
Simple but essential information on how to install piston rings correctly. Study the pictures carefully and read the instructions below for a better understanding.

4 ▼
Axial and radial piston ring clearance
1. Check each ring's corresponding piston groove to ensure correct axial and radial play.
Axial clearance approx. 0.001"- 0.002"
Radial play must be at least 0.005"
5 ▼
Oil ring expander
Oil rings: Place the spring ring of the oil ring on each side of the oil ring in the lowest groove of the piston, with the ring ends 90° from each end of the piston bolt.
Make sure that the ends of the spring rings are visible and properly mounted. If the ends of the spring rings
overlaps, the engine will smoke due to this.
6 ▼
Scraper ring
The oil ring can be installed with either side up. Install the ring in the piston ring groove between the expander ring/spring rings using a ring expander. The piston ring ends should be placed at least 90° from each other.
Once the oil ring has been installed, check that the scraper ring spring rings are
are mounted adequately as described above.
7 ▼
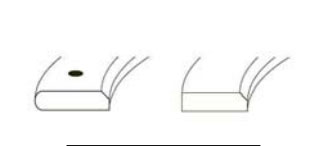
Second piston ring (compression ring)
Second ring:
Install the second ring using a piston ring expander
The marked side should be up.
If you have an unmarked 2nd ring with an internal chamfer, the chamfer is installed downwards. If the ring is not marked in any way, it can be turned in both directions.
8 ▼
First piston ring (compression ring)
First ring:
Install the first ring using a piston ring expander.
The marked side should be up.
If you have an unmarked 1st ring with a chamfer, the chamfer is installed upwards (opposite ring number 2.). If the ring is not marked in any way, it can be in both directions.
9 ▼
Crankcase ventilation
Mostly, all parts work together and not separately. In other words, the crankcase ventilation also needs to be reviewed when installing parts in the engine bottom end. Regardless of how well your piston rings seal, you will have blow-by and a crankcase pressure builds up -especially with a tuned engine.
Read more about crankcase ventilation and create the best conditions for you to get an efficient and reliable engine.
▼
▼
-
Engine and tuning
- Crankcase ventilation Information
- Engine block: Parts and how they fit together
- Engine deck clearance
- Head gasket - Information
- Engine bearing installation
- Engine bearing Information
- Blow off valve: Information and assembly
- Electronic Throttle Housing - DBW Information
- Noise from engine - Troubleshooting
- ARP bolts: Material and specifications
- Assembly of connecting rods
- Automotive cooling system problem
- Engine cooling system [How does it work?]
- Engine Oil system
- Engine water pump
- Exhaust pipe: Which material should you choose? [+extra information]
- Exhaust system: Parts and assembly
- Exhaust values - Information
- Exhaust wrap
- Intercooler guide
- Oil cooler - Information and FAQ
- Piston ring installation TIPS
- What do notes on Wiseco & JE pistons mean?